![]()
This is a quick tutorial shows how you can easily install Oracle Java 9, early access release so far, in current supported Ubuntu releases and derivatives, including Ubuntu 15.04, Ubuntu 14.10, Ubuntu 14.04, Ubuntu 12.04, Ubuntu 10.04, Linux Mint 13/17.
NOTE: Oracle Java 9 is still in early access release, it may have bugs and it might not include the latest security patches, use it at your own risk!
Thank to Webupd8 Team, an installer script has made into PPA that automatically downloads the Java 9 JDK tarball and install it on your system.
Install Oracle Java 9 from PPA:
First open terminal from the Dash/Menu or by pressing Ctrl+Alt+T key combination on keyboard. When it opens, run below commands one by one:
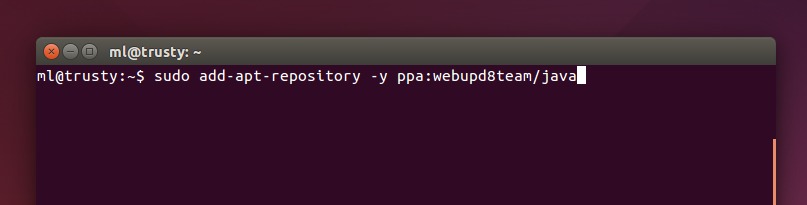
1. Add the Webupd8 PPA:
sudo add-apt-repository -y ppa:webupd8team/java
2. Refresh system package cache and install the installer scripts via 2 commands one by one:
sudo apt-get update

sudo apt-get install oracle-java9-installer
3. Once the script successfully installs Java 9 on your system, you may run command to set ava 9 environment variables:
sudo apt-get install oracle-java9-set-default
Finally check out the your Java installation via command:
java -version
and it should outputs something like this:
java version “1.9.0-ea”
Java(TM) SE Runtime Environment (build 1.9.0-ea-b54)
Java HotSpot(TM) 64-Bit Server VM (build 1.9.0-ea-b54, mixed mode)
eduardo@ecm-vaio:~$ java version
Picked up JAVA_TOOL_OPTIONS: -javaagent:/usr/share/java/jayatanaag.jar
Erro: Não foi possível localizar nem carregar a classe principal version