For those running Ubuntu Desktop in a virtualised environment, or a Ubuntu computer is being controlled remotely over VNC, RDP etc, Low Graphics Mode can be enabled to reduce the overhead and speed up the user’s experience.
Ubuntu 7 has a low graphics mode for a long time, it reduces the amount of visual effects:
- Reducing the amount of animation in elements such as the window switcher, launcher and menus (in some cases down to zero)
- Removing blur and fade in/out
- Reducing shadows
How to Enable Low Graphics Mode in Ubuntu 16.04:
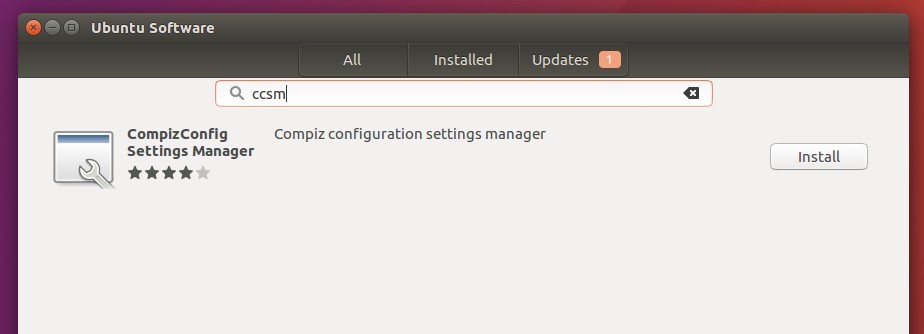
1. Launch Ubuntu Software, search for and install CCSM (CompizConfig Settings Manager):
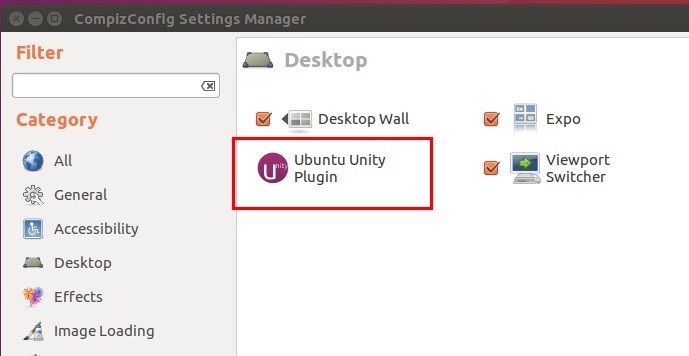
2. Then launch CCSM from the Launcher or Unity Dash, click Desktop -> Ubuntu Unity Plugin:
3. Finally scroll-down and check the box after “Enable Low Graphics Mode”. And it takes effect instantly.

Low Graphics Mode can also enable itself when it detects certain GL features are not available.
1. Open terminal (Ctrl+Alt+T) and run command to create and open a config file:
gedit ~/.config/upstart/lowgfx.conf
2. When the file opens, paste below lines and save it.
start on starting unity7
pre-start script
    initctl set-env -g UNITY_LOW_GFX_MODE=1
end script
To disable this feature, simply comment the 3nd initctl line by adding “#” (without quotes) at the start of the line.